How to Make a Professional Flyer for Your Business
Even now, physical print marketing remains an incredibly powerful tool for local New Zealand small businesses.
Whether you are dropping letterbox flyers around a new housing subdivision, leaving brochures on local cafe counters, or inserting a promotion into a customer’s shopping bag, a high-quality physical flyer gets noticed.
A well-crafted flyer puts your business directly into a potential customer's hands. It bridges the gap between your physical presence in the community and your digital store or website.
However, a poorly designed flyer can have the opposite effect. If it looks messy, cluttered, or cheap, people will throw it straight into the recycling bin without reading it.
The good news is that you don't need to hire an expensive advertising agency to get a premium result.
This guide breaks down the core anatomy of a high-converting business flyer and how you can easily design and print your own using local tools.
1. The Anatomy of a High-Converting Flyer
A successful business flyer isn't just a collection of random images and text. It needs a deliberate structural flow that grabs attention, builds interest, and gently guides the reader to take a specific action.
When mapping out your DIY flyer layout, ensure it includes these four critical zones:
Zone 1: The "Hook" Headline
The top third of your flyer is its most valuable real estate.
Your headline needs to feature a massive, bold font that calls out to your target audience. Avoid making your business name the headline. Instead, lead with the problem you solve or an irresistible offer (e.g., "Is Your Roof Ready for Winter?" or "Get 20% Off Your First House Clean").
Zone 2: A High-Quality Visual Hero
Human brains process imagery significantly faster than text.
Include one prominent, high-resolution photo or graphic that supports your headline. For example, if you run a landscaping business, show a crisp, bright image of a beautifully finished lawn. Avoid cluttered collages; one large, stunning picture is far more effective than five tiny ones.
Zone 3: Bite-Sized Core Benefits
The body of your flyer should explain exactly why the customer should choose you.
Keep paragraphs exceptionally short. Use bullet points to list your three or four biggest benefits, focusing heavily on what the customer gets out of it (e.g., "No hidden fees," "Fully insured local tradesmen," "Same-day service").
Zone 4: The One Next Step (Call to Action)
Never leave your reader guessing what to do next.
Make your contact zone distinct and easy to find at the very bottom of the page. Include a single New Zealand phone number, a professional email, and a modern custom QR code so readers can instantly scan the paper flyer with their smartphone to book online or view your pricing.
2. Choosing the Right Flyer Size for Your Campaign
Flyers come in several standard dimensions, and choosing the right size depends entirely on how you plan to distribute them:
- DL Size (99mm x 210mm): This is exactly one-third of a standard A4 sheet. It is the perfect, sleek size for standard NZ letterboxes, counter display stands, and inserting into professional presentation folders.
- A5 Size (148mm x 210mm): Exactly half the size of an A4 page. This is the gold standard for regional letterbox drops, event handouts, and informational notices because it offers plenty of space for text without feeling bulky.
- A4 Size (210mm x 297mm): Best used for posters, highly detailed price lists, or technical menus that are displayed flat against a wall or counter, rather than handed out on the street.
3. How to Streamline Your Flyer Design with Dzyn Space
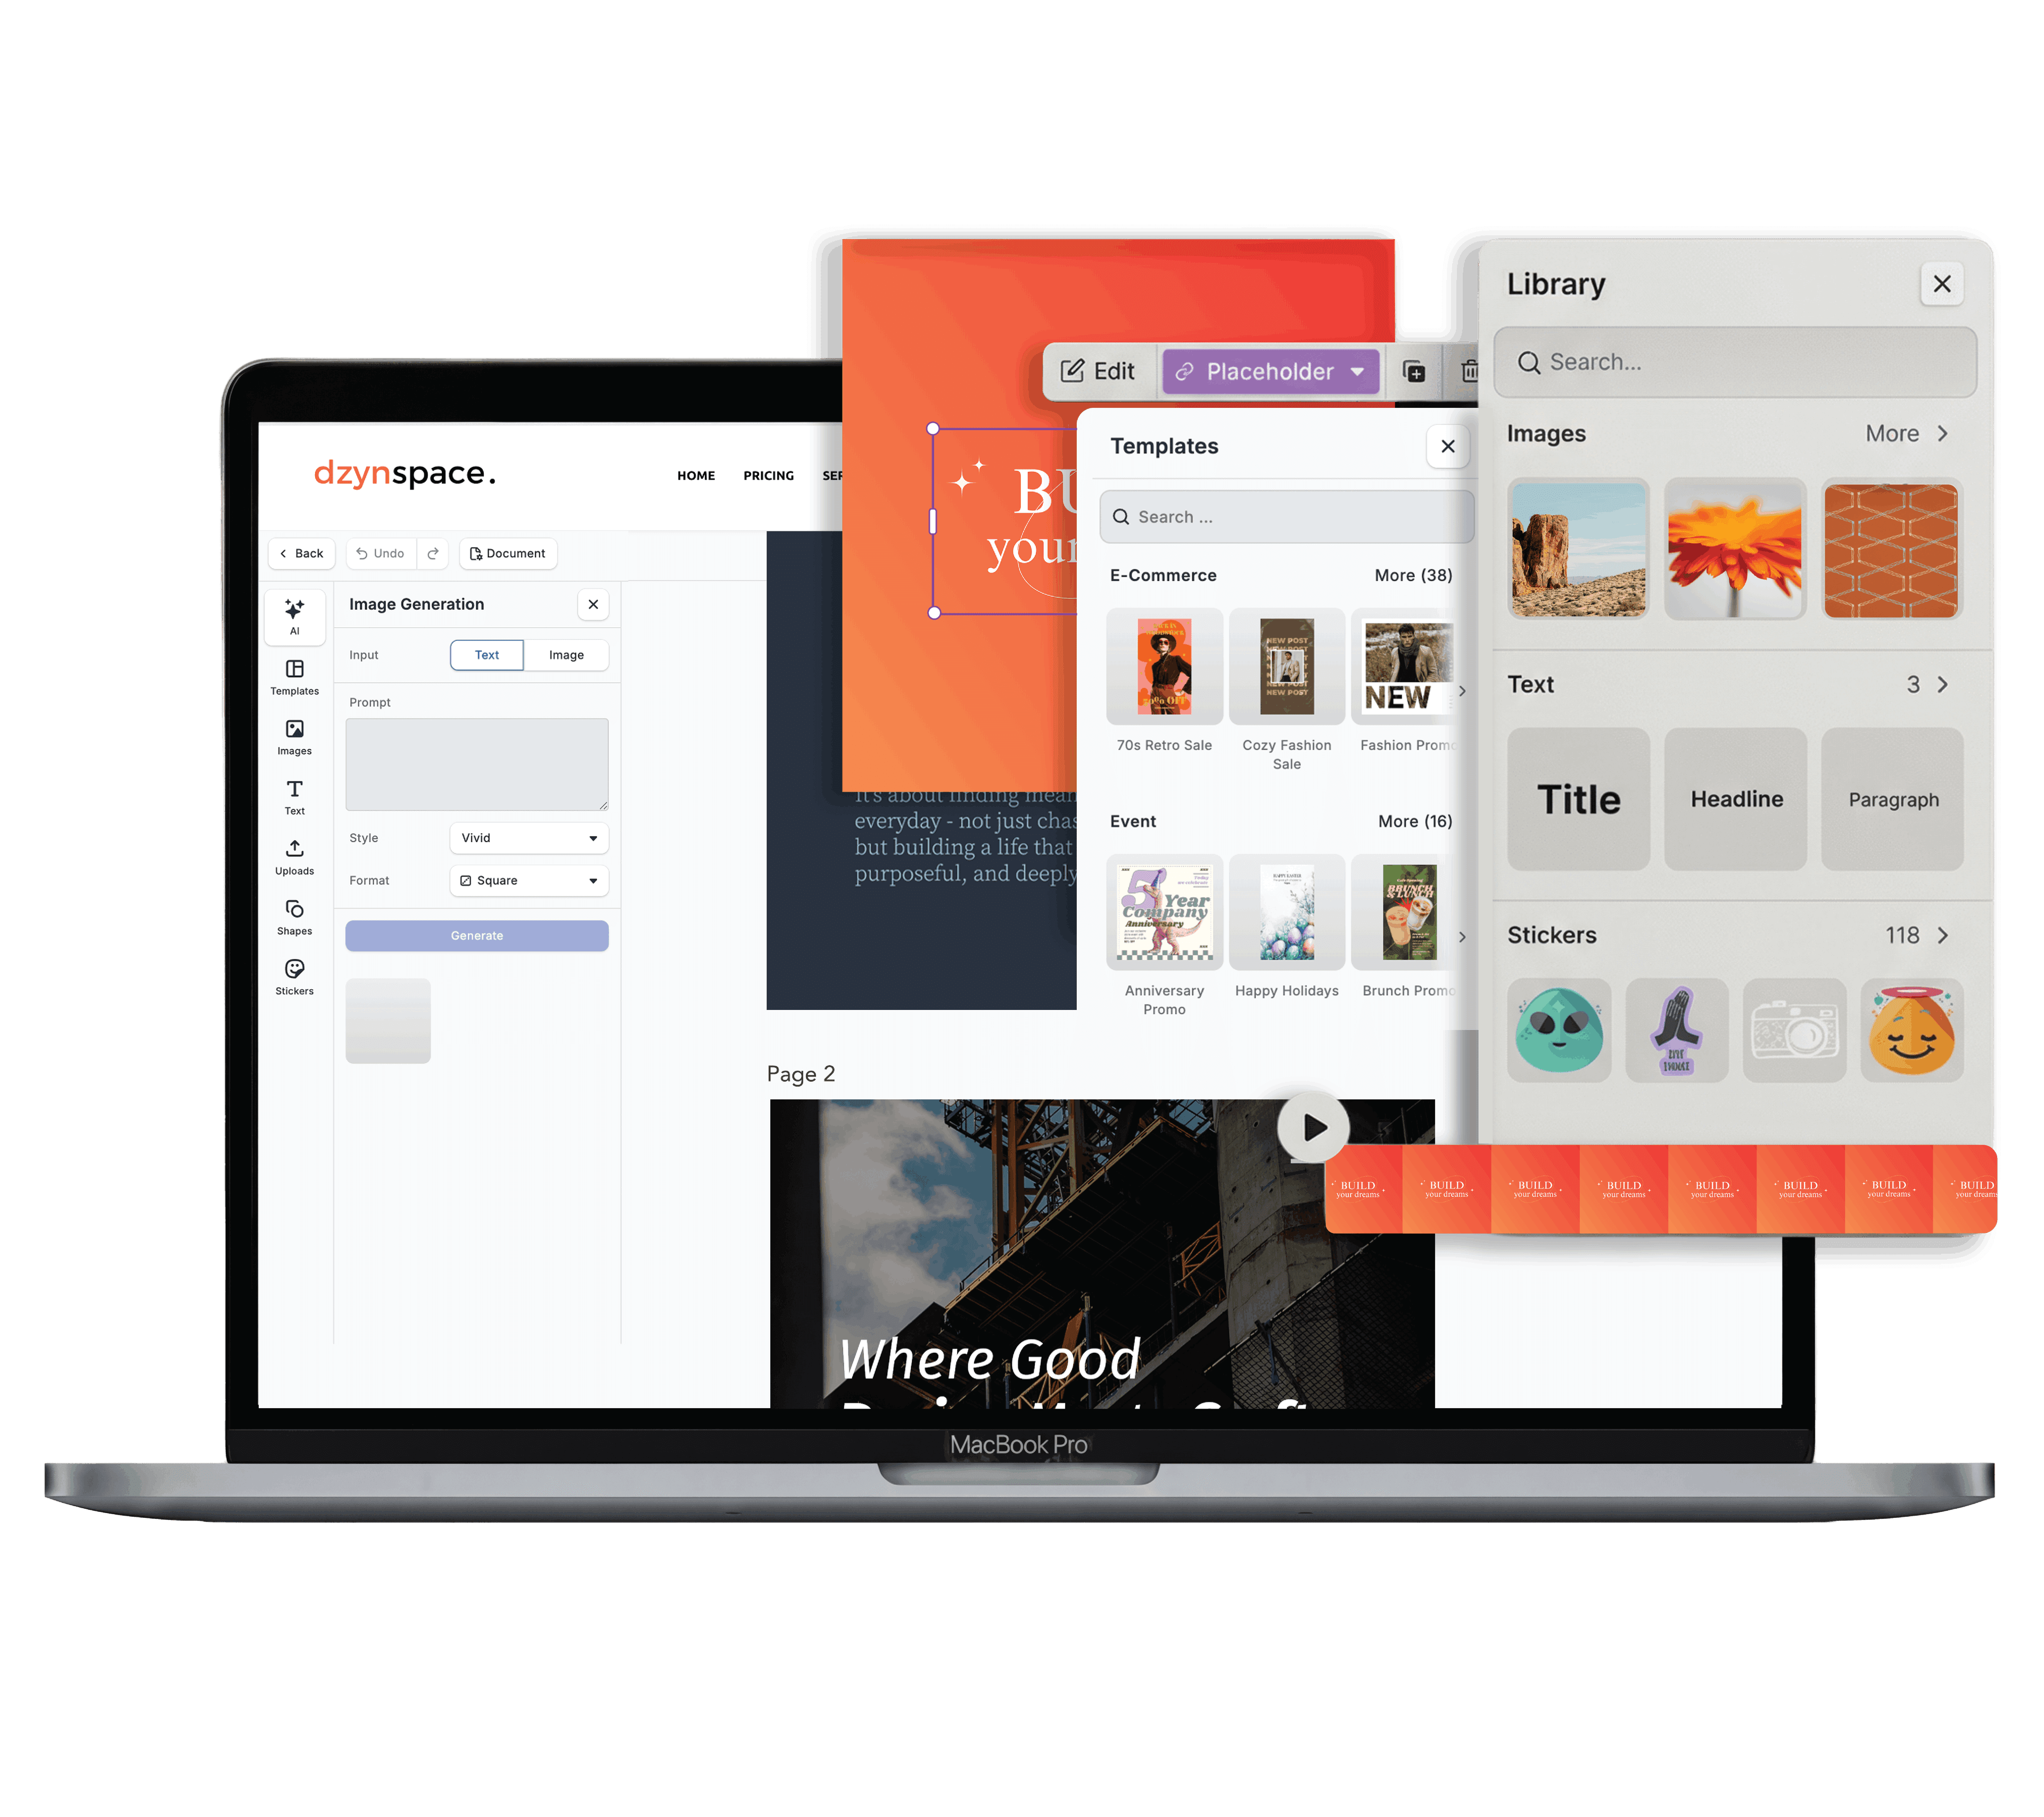
If the idea of manually configuring bleed margins and layout grids sounds stressful, Dzyn Space takes all the guesswork out of physical print design for Kiwi business owners.
Instead of starting from a blank page or wrestling with confusing software settings, you can open the Dzyn Space Design Editor.
The platform features a large collection of premium flyer and brochure templates set up perfectly to standard New Zealand dimensions.
No More Loose Logo Files
Thanks to the integrated Brand Centralisation system, your custom company logos, your pre-saved font styles, and your exact colour Hex codes are always waiting for you in the side panel.
You can pull an off-the-shelf template and customise it to match your exact brand style in just a couple of clicks.
The Ultimate Printing Shortcut
The most common mistake with DIY printing is exporting a file, sending it to a print shop, and realizing the text gets cut off because there were no bleed margins.
Dzyn Space entirely eliminates this issue through native Print Monday integration.
Once your flyer layout looks exactly how you want it, you don't need to download it, change the file compression, and look for an external printing partner.
You can seamlessly route your finished design directly to Print Monday straight from your dashboard. Your flyers will be printed locally on high-quality, thick paper stocks and shipped directly to your Kiwi address with zero stress.
Frequently Asked Questions
What is "Bleed" and why does my flyer need it?
When a commercial printing press cuts massive sheets of paper down to individual flyer sizes, the cutting blades can shift slightly.
"Bleed" is an extra 3mm of design space added around the outer edges of your canvas. Adding bleed ensures that if the blade moves, your background colours still go all the way to the edge, leaving no awkward white borders.
Where can I learn more about the basic laws of graphic layouts?
To ensure your flyer looks balanced, clean, and highly professional, it helps to understand a few core rules about typography, whitespace, and visual order.
You can learn all of these techniques in our comprehensive guide: The Complete Guide to DIY Graphic Design for Small Businesses.
What paper weight should I choose for my business flyers?
For budget-friendly mass letterbox drops, a paper weight of 150gsm to 170gsm (Grams per Square Metre) is ideal because it feels durable without being too heavy.
If you are creating a premium menu or a high-end promo brochure to leave on a storefront counter, go for a thicker 250gsm to 300gsm card stock for a luxurious, tactile feel.
Conclusion
A professional business flyer is a timeless, reliable asset for generating local leads and building community trust.
By sticking to a clear visual hierarchy, utilising high-quality hero images, and keeping your body text simple and actionable, your DIY flyers can easily compete with agency-designed material.
Stop dealing with messy software and separate local printers. Clear up your marketing workflow today. Create your free Dzyn Space account, pick a local flyer template, and get your premium materials printed directly through Print Monday in just a few minutes.