How to Resize One Design for Different Social Media Platforms
Managing social media for a New Zealand small business is a constant balancing act.
Whether you are running a boutique clothing store in Mount Maunganui, a trade service in Wellington, or a specialty roastery in Auckland, you already know that different platforms demand different image shapes. Instagram rewards tall vertical graphics, Facebook loves clean squares, and LinkedIn relies on wide horizontal updates.
For a busy owner, this creates a time-consuming headache: creating an awesome graphic, only to find the edges chopped off or the text pixelated when you upload it to a different feed.
The good news? You do not need to rebuild your graphic from scratch every single time. By following a few smart layout rules and using localized DIY tools, you can transform a single design to fit every social channel seamlessly.
Here is your step-by-step guide to resizing your graphics across platforms without losing your layout or image quality.
1. Why Using One Graphic Size Everywhere Fails
When you upload an image, social platforms automatically stretch or crop your file to match their native aspect ratio (the proportional relationship between width and height).
If your image dimensions do not match what the platform expects, two things happen:
- Awkward Cropping: The app trims the top, bottom, or sides of your image—frequently cutting off your phone number, call-to-action, or logo.
- Pixelation and Distortion: The app stretches small graphics to fit larger screens, leaving your imagery blurry and your typography hard to read.
2. Three Golden Rules for Effortless Resizing
To make cross-platform resizing fast and stress-free, structure your original canvas correctly from the start.
Rule 1: Always Start With Your Largest Canvas
Always design your initial graphic at the largest resolution you need. For most small businesses, starting with an Instagram Portrait (1080 x 1350 px) or a full-screen Story (1080 x 1920 px) is best. Shrinking high-resolution graphics down keeps line work and text crisp, whereas scaling up a small image leads to fuzzy edges.
Rule 2: Keep Critical Details in the "Safe Zone"
Place your core elements—headline text, offer details, and logo—right in the center of your canvas. Designers call this the "Safe Zone." By keeping essential information central and letting background colours or images fill the outer edges, you can trim or expand your canvas boundaries without clipping key details.
[Visual Suggestion: Insert a diagram showing a vertical social template with a highlighted central box labeled 'Safe Zone: Keep essential text and logos inside this line'.]
Rule 3: Lock Your Aspect Ratios
When manually adjusting photos, icons, or logos to fit a newly shaped canvas, always drag element corners rather than the side handles. Dragging from the sides distorts your graphics, stretching your photos and brand logos unnaturally.
3. How Dzyn Space Makes Multi-Platform Resizing Instant
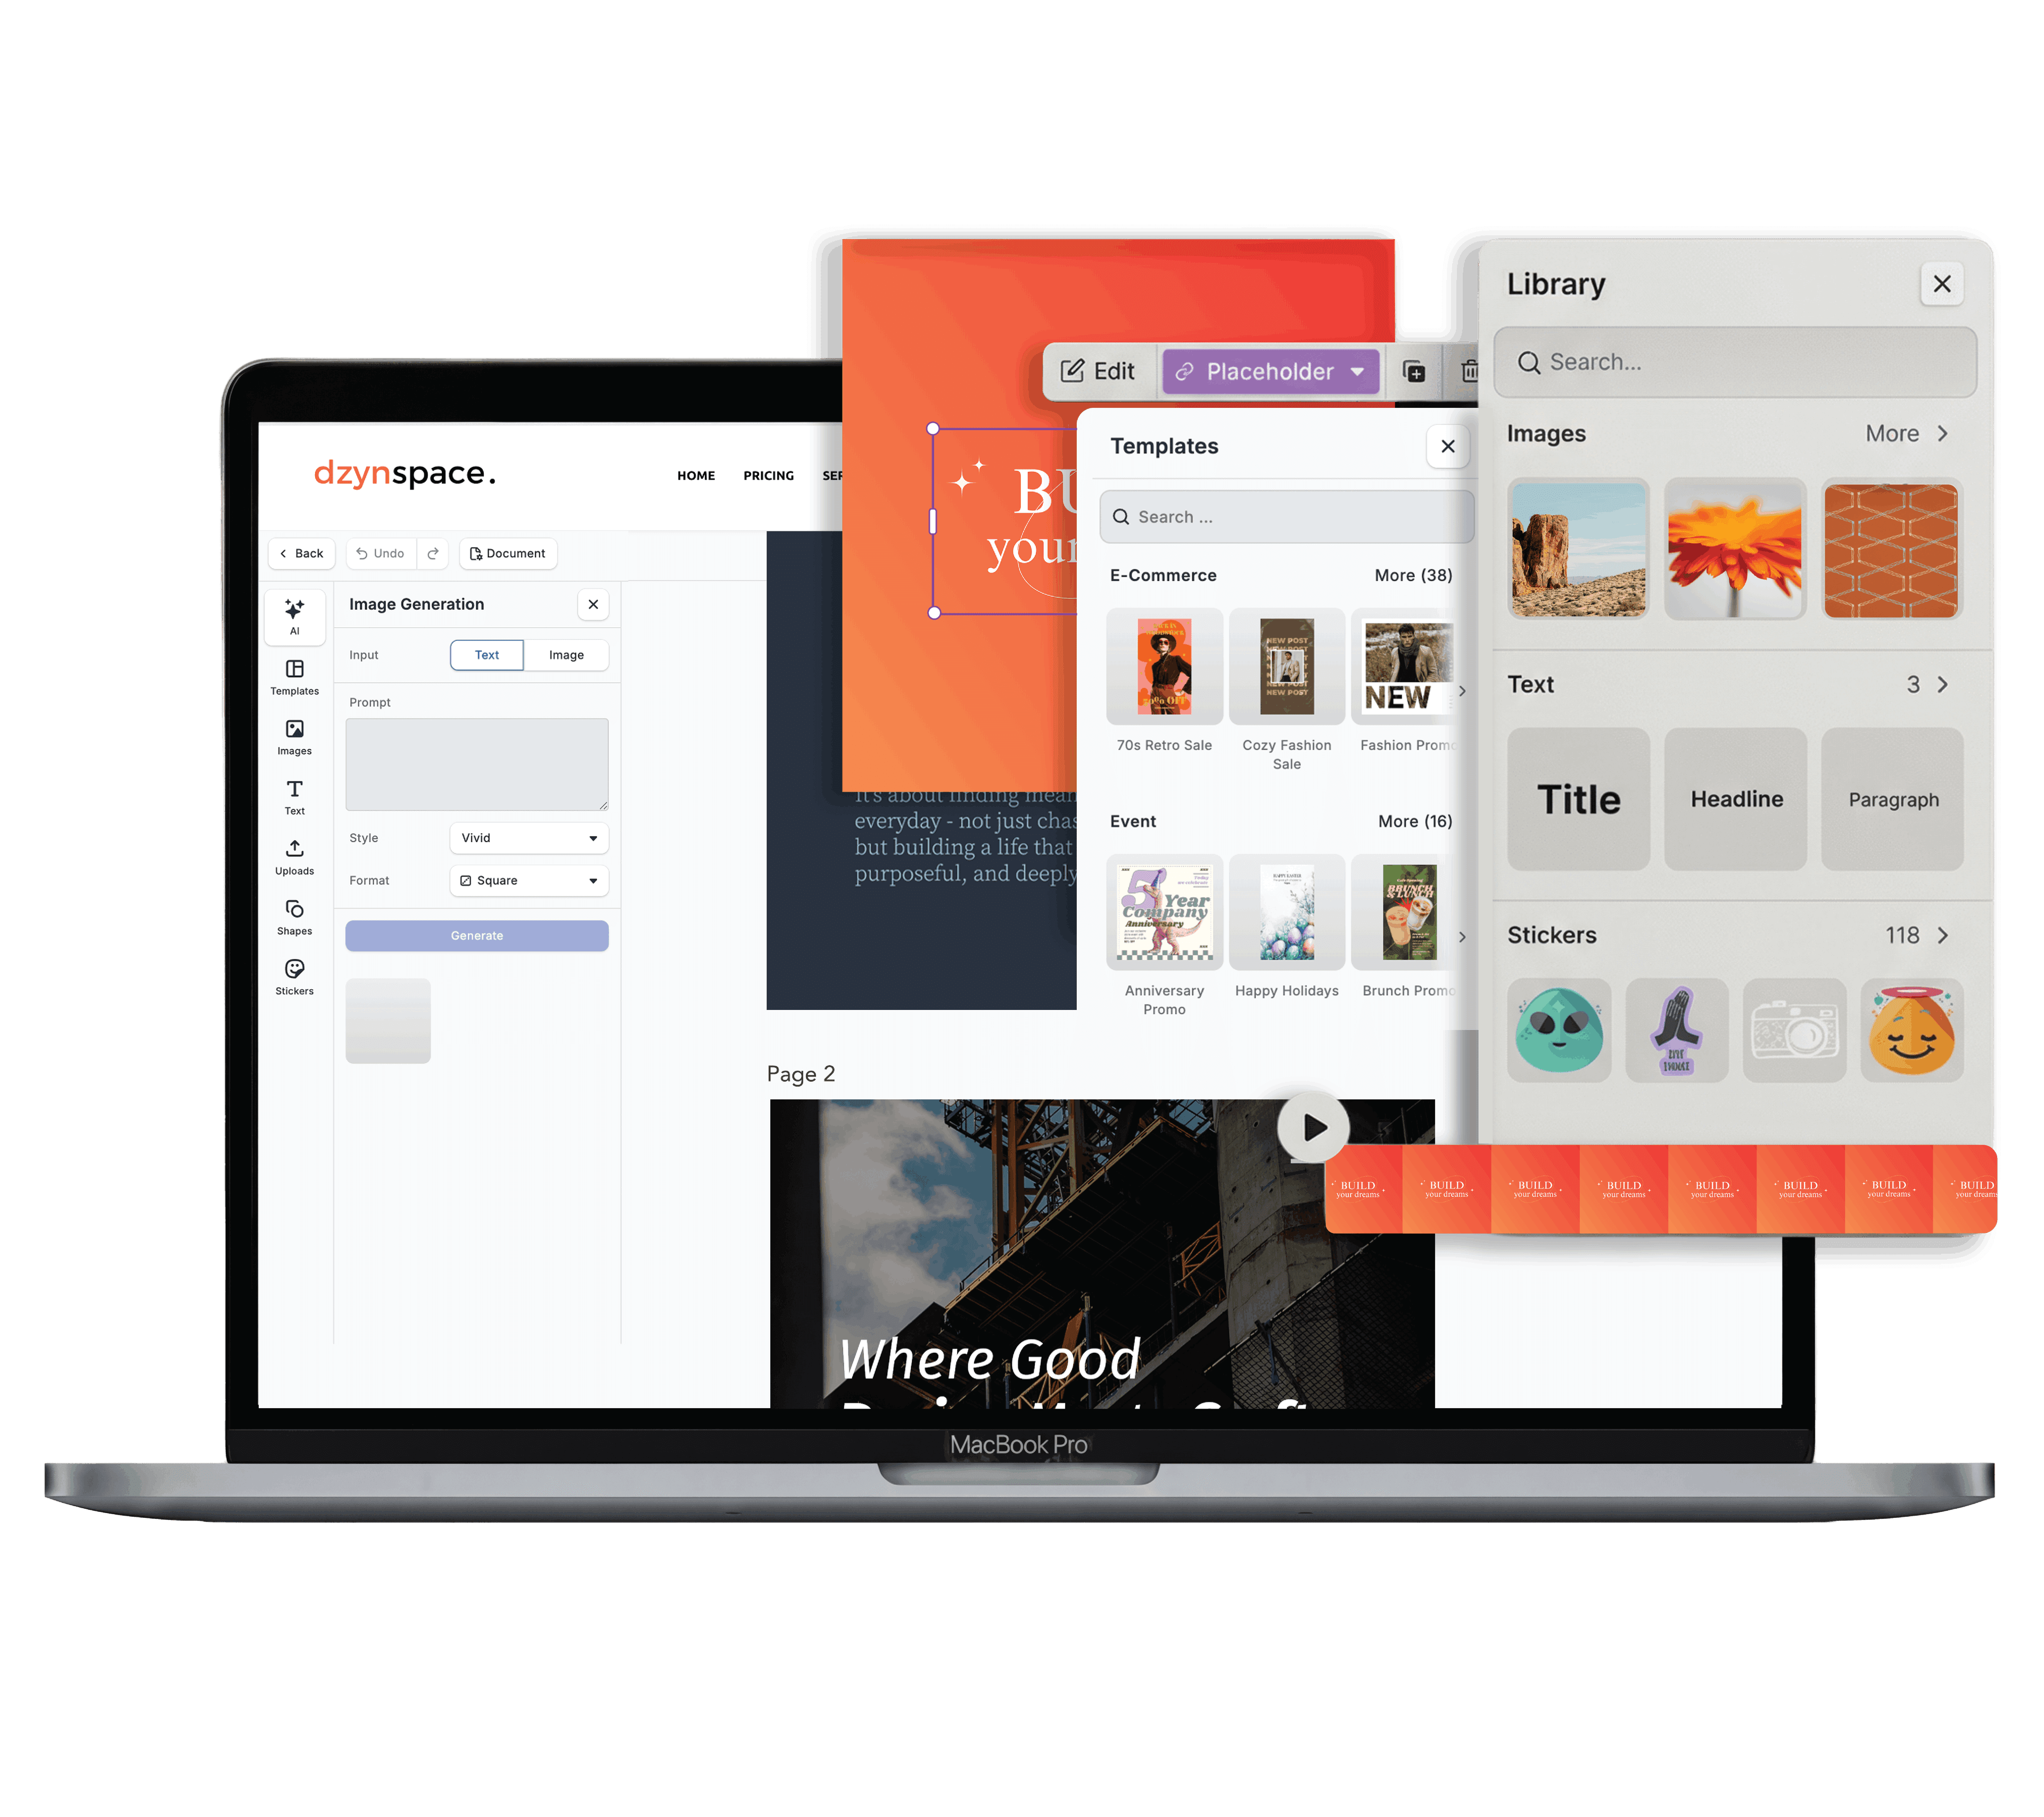
Manually re-entering pixel dimensions and repositioning text blocks for every single platform eats up hours you simply don't have. Dzyn Space was built specifically to remove these technical friction points for local Kiwi businesses.
Instead of wrestling with manual adjustments, you can use the built-in automated resizing features inside the Dzyn Space Design Editor:
- One-Click Magic Resize: Take your finished Instagram post and instantly duplicate and resize it into ready-to-use dimensions for Facebook link ads, LinkedIn headers, or Web banners—no manual math required.
- Pre-Set Kiwi Business Templates: Skip dimension setup entirely. Access an extensive library of pre-sized templates built for every major channel layout.
- Instant Brand Kit Alignment: When you resize a graphic into a new format, your pinned brand logos, custom fonts, and exact Hex colour codes remain directly accessible in your sidebar. Re-aligning your visual hierarchy takes seconds.
- High-Resolution PNG Exports: Download your resized graphics with optimized web compression to ensure your text stays sharp and legible across mobile and desktop devices alike.
Frequently Asked Questions
What are the exact pixel dimensions I should keep in mind?
To keep things simple, focus on these primary dimensions:
- Instagram & Facebook Feed Posts: 1080 x 1080 px (Square) or 1080 x 1350 px (Portrait)
- Instagram & Facebook Stories / Reels: 1080 x 1920 px (Vertical)
- LinkedIn Updates: 1200 x 628 px (Horizontal)
For a complete breakdown of every current spec, read our detailed guide: [The Best Image Sizes for Facebook, Instagram, and LinkedIn].
What file format should I use when exporting resized graphics?
For posts containing typography, vectors, or brand logos, always export as PNG. PNG format preserves clean, sharp text edges. Save photographic-only graphics as JPG to keep file sizes lightweight.
Can I resize video content the same way as static posts?
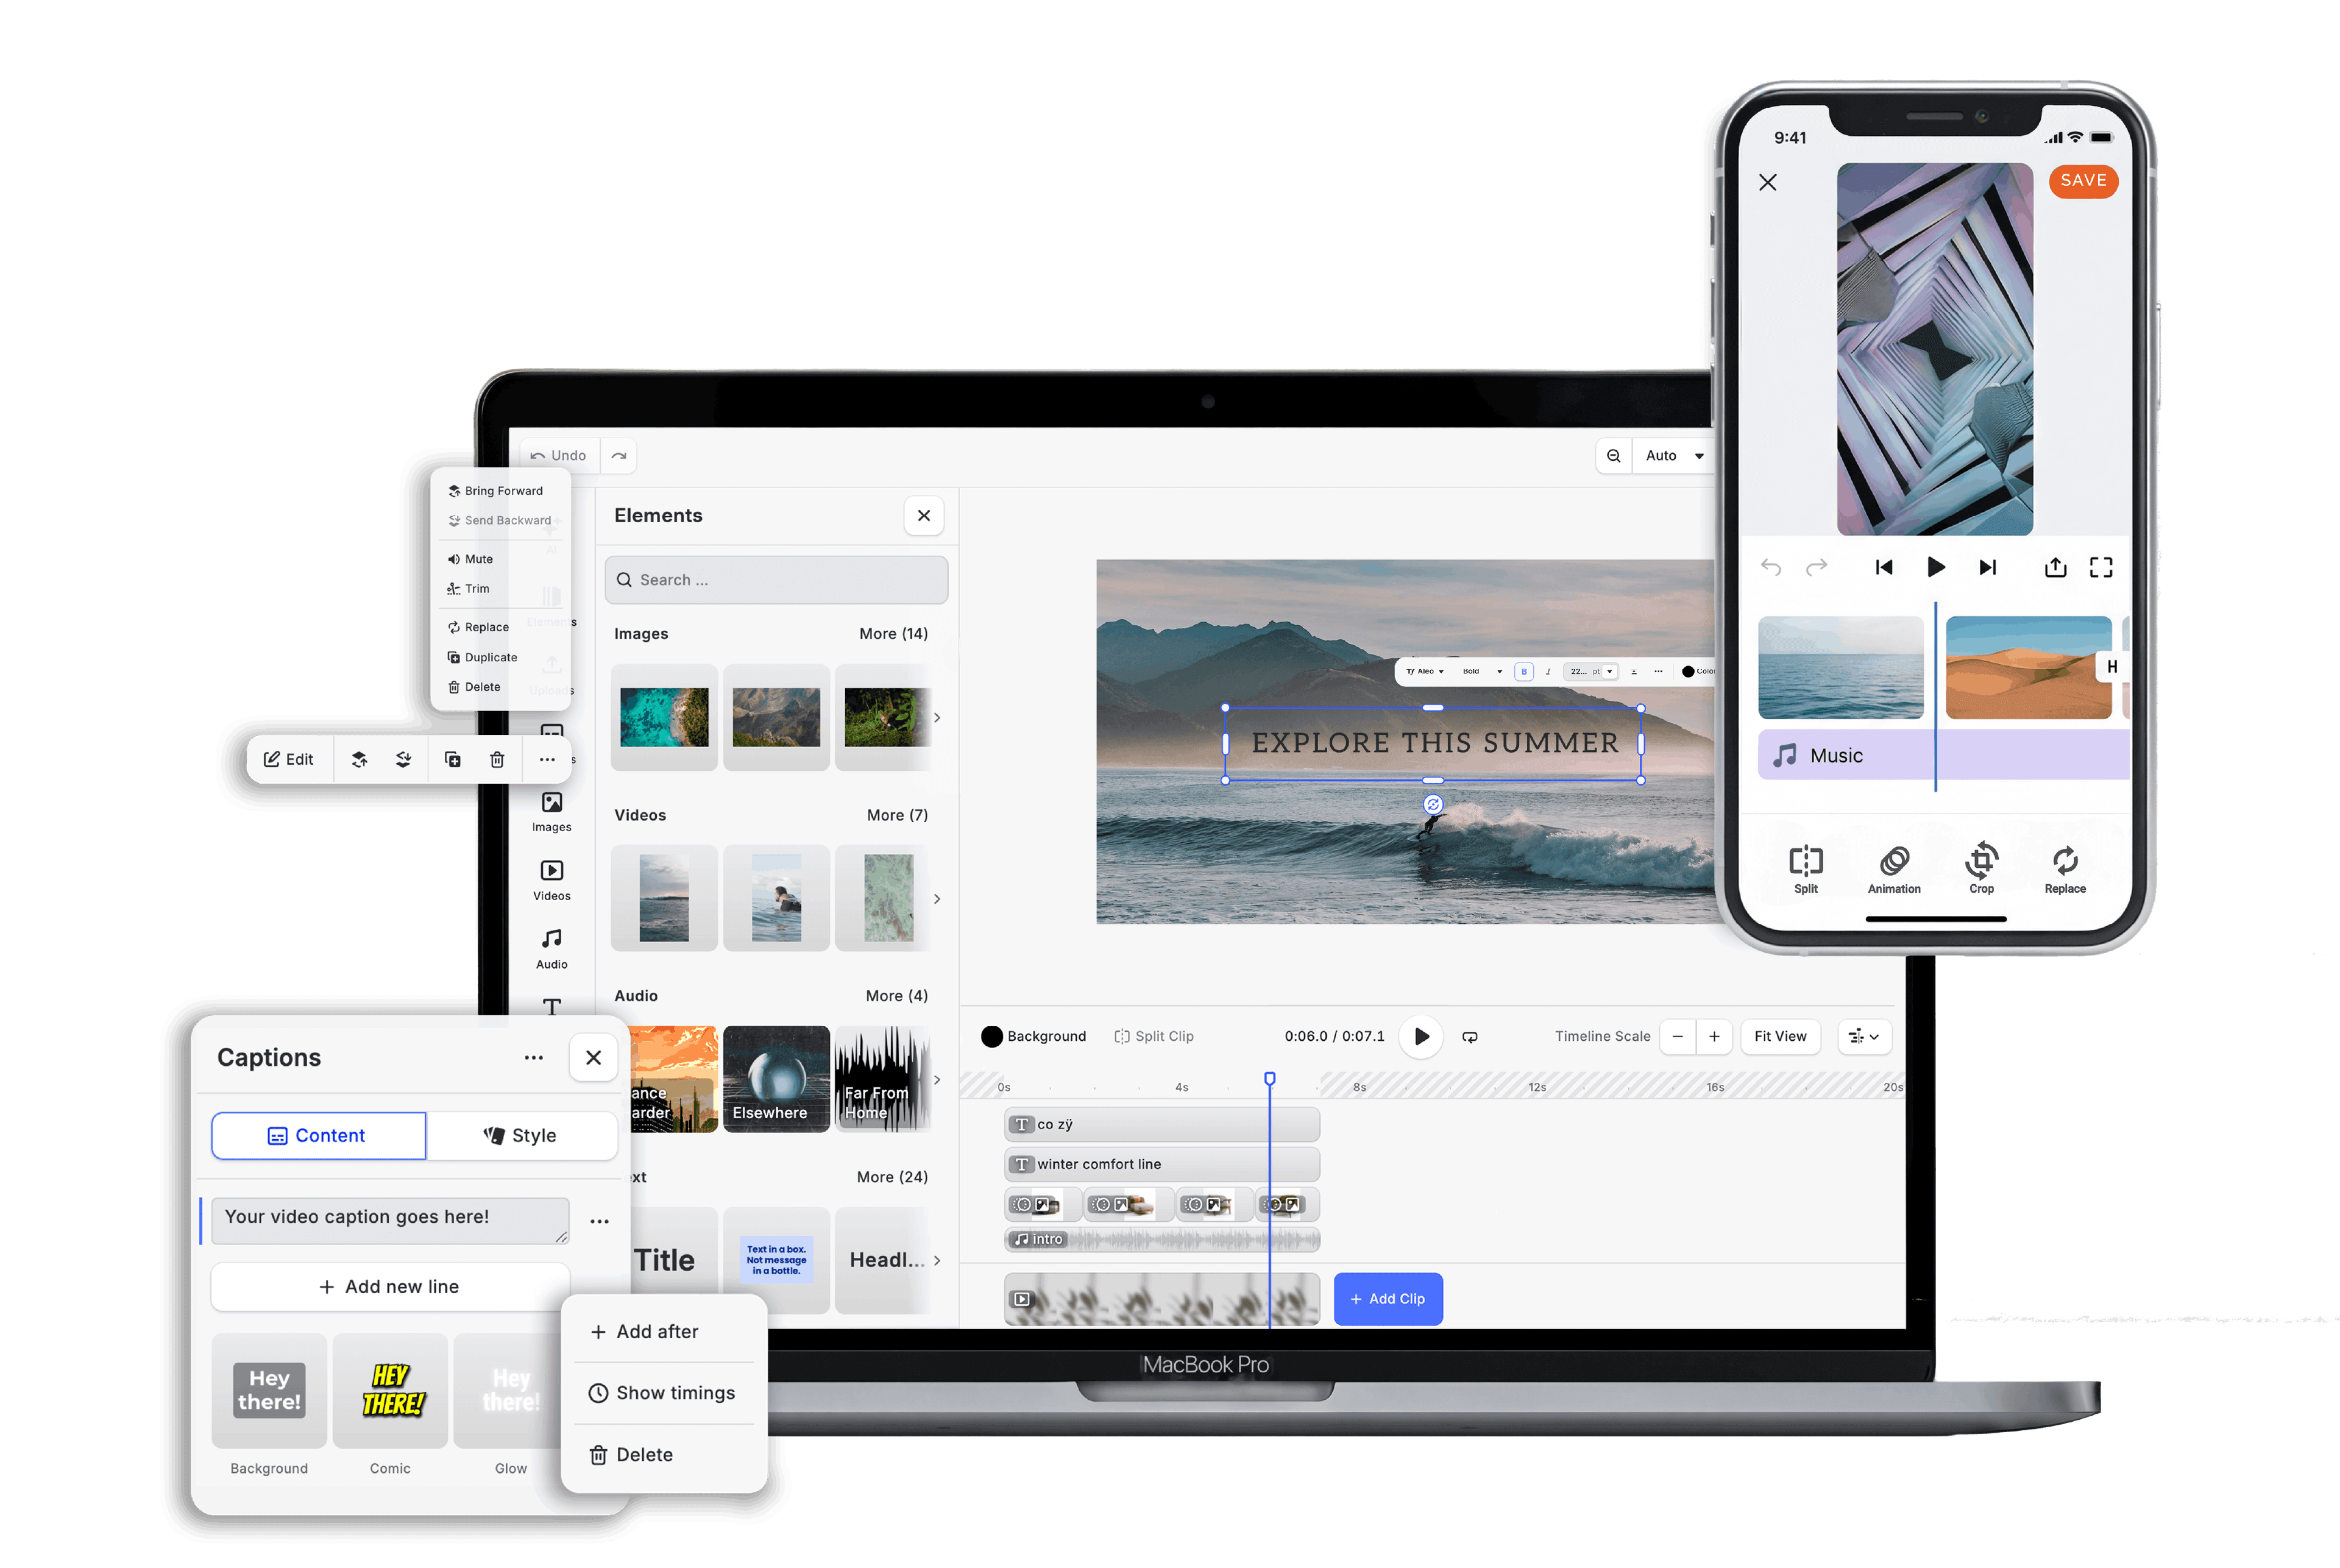
Yes. Inside the Dzyn Space Video Editor, you can adjust your video canvas ratios and reposition video frames alongside your text overlays before exporting.
Conclusion
You don't need to spend hours redesigning the same announcement graphic for three different social networks. By starting big, keeping critical content in the safe zone, and using smart resize tools, you can publish perfectly formatted visuals everywhere in minutes.
Ready to streamline your social content workflow?
Sign up for a free Dzyn Space account today, try our automated resize features, and start publishing pixel-perfect graphics across all your social channels.