How to Prepare a Design for Professional Printing
Professional printing is different from printing at home. To get crisp, clear prints, you need high-resolution images (300 DPI), the right colour mode (CMYK, not RGB), and proper printer marks like bleeds and crop marks. Always export your final file as a print-ready PDF to prevent awkward formatting surprises.
Designing a brochure, business card, or flyer on a screen is exciting. The colours pop, the text looks sharp, and everything sits perfectly in place.
Then you pick up the printed batch from your local Kiwi print shop, and disappointment hits.
The text is fuzzy. The edges have strange white borders. The vibrant blue background turned into a dull, dark purple.
Printing on paper is completely different from displaying graphics on a glass screen. Computer screens emit light, while printers use physical ink.
If you run a small business in New Zealand, you cannot afford to waste money on bad print runs.
Here is a simple, step-by-step guide to preparing your DIY designs for professional printing without any expensive mistakes.
1. Resolution: Switch to 300 DPI
Digital screens measure images in pixels. Printers measure images in DPI (Dots Per Inch).
When you look at a website, 72 DPI looks totally fine. But if you try to print a 72 DPI graphic on paper, the printer does not have enough detail to work with. Your crisp image will turn out blurry, soft, or pixelated.
- Screen Standard: 72 DPI (Great for websites, terrible for paper).
- Print Standard: 300 DPI (Required for sharp, professional printing).
Always check your image resolution before sending a file to the printer. If your photos are low quality, scaling them up won't fix them.
Always start with clear, high-resolution original files.
2. Colour Mode: RGB vs. CMYK
This is the number one reason printed colours look different from what you see on your screen.
- RGB (Red, Green, Blue): Your phone and computer screens use light to mix these three colours. RGB can create extremely bright, neon-like shades.
- CMYK (Cyan, Magenta, Yellow, Black): Physical printers use these four ink colours mixed together on paper.
Printers cannot print glowing light. If you design your business card using bright RGB colours, the printer will convert those colours to CMYK inks. Bright neon greens often turn into dull forest greens, and bright blues can shift toward purple.
To avoid surprises, convert your design colours to CMYK before sending your file off to be printed.
3. Set Up Bleeds and Crop Marks
Printers print your designs on large sheets of paper, then slice them down to size using giant paper cutters.
Paper cutters are fast, but they can shift by a millimetre or two. If your background color stops right at the exact edge of your page, a tiny shift in the blade will leave an ugly white paper line along the edge of your printed cards.
To fix this, professional designers use two tools:
- Bleed Area: This is an extra 3mm of background colour or imagery extended past the actual edge of your page. If the cutting blade shifts slightly, it still cuts through your background colour, leaving no white edges.
- Crop Marks: These are tiny corner lines printed on the page. They show the printer operator exactly where to slice the sheet.
- Safety Zone: Keep all important text, phone numbers, and logos at least 3mm to 5mm inside the trim line. That way, nothing important gets cut off by mistake.
4. Export as a Print-Ready PDF
Never send a print shop a standard JPG or PNG file for high-end printing like brochures, banners, or business cards. JPGs compress your graphics and blur your text edges.
Always save and export your final file as a Print-Ready PDF (sometimes labeled as PDF/X or PDF for Print).
PDF files lock down your layout. They preserve high-resolution vector text, keep your exact font shapes, and embed your colour profiles so nothing shifts when the print shop opens your file.
How Dzyn Space Makes Print Prep Simple
Preparing print files manually can feel technical and confusing.
Dzyn Space takes the guesswork out of the process for Kiwi business owners:
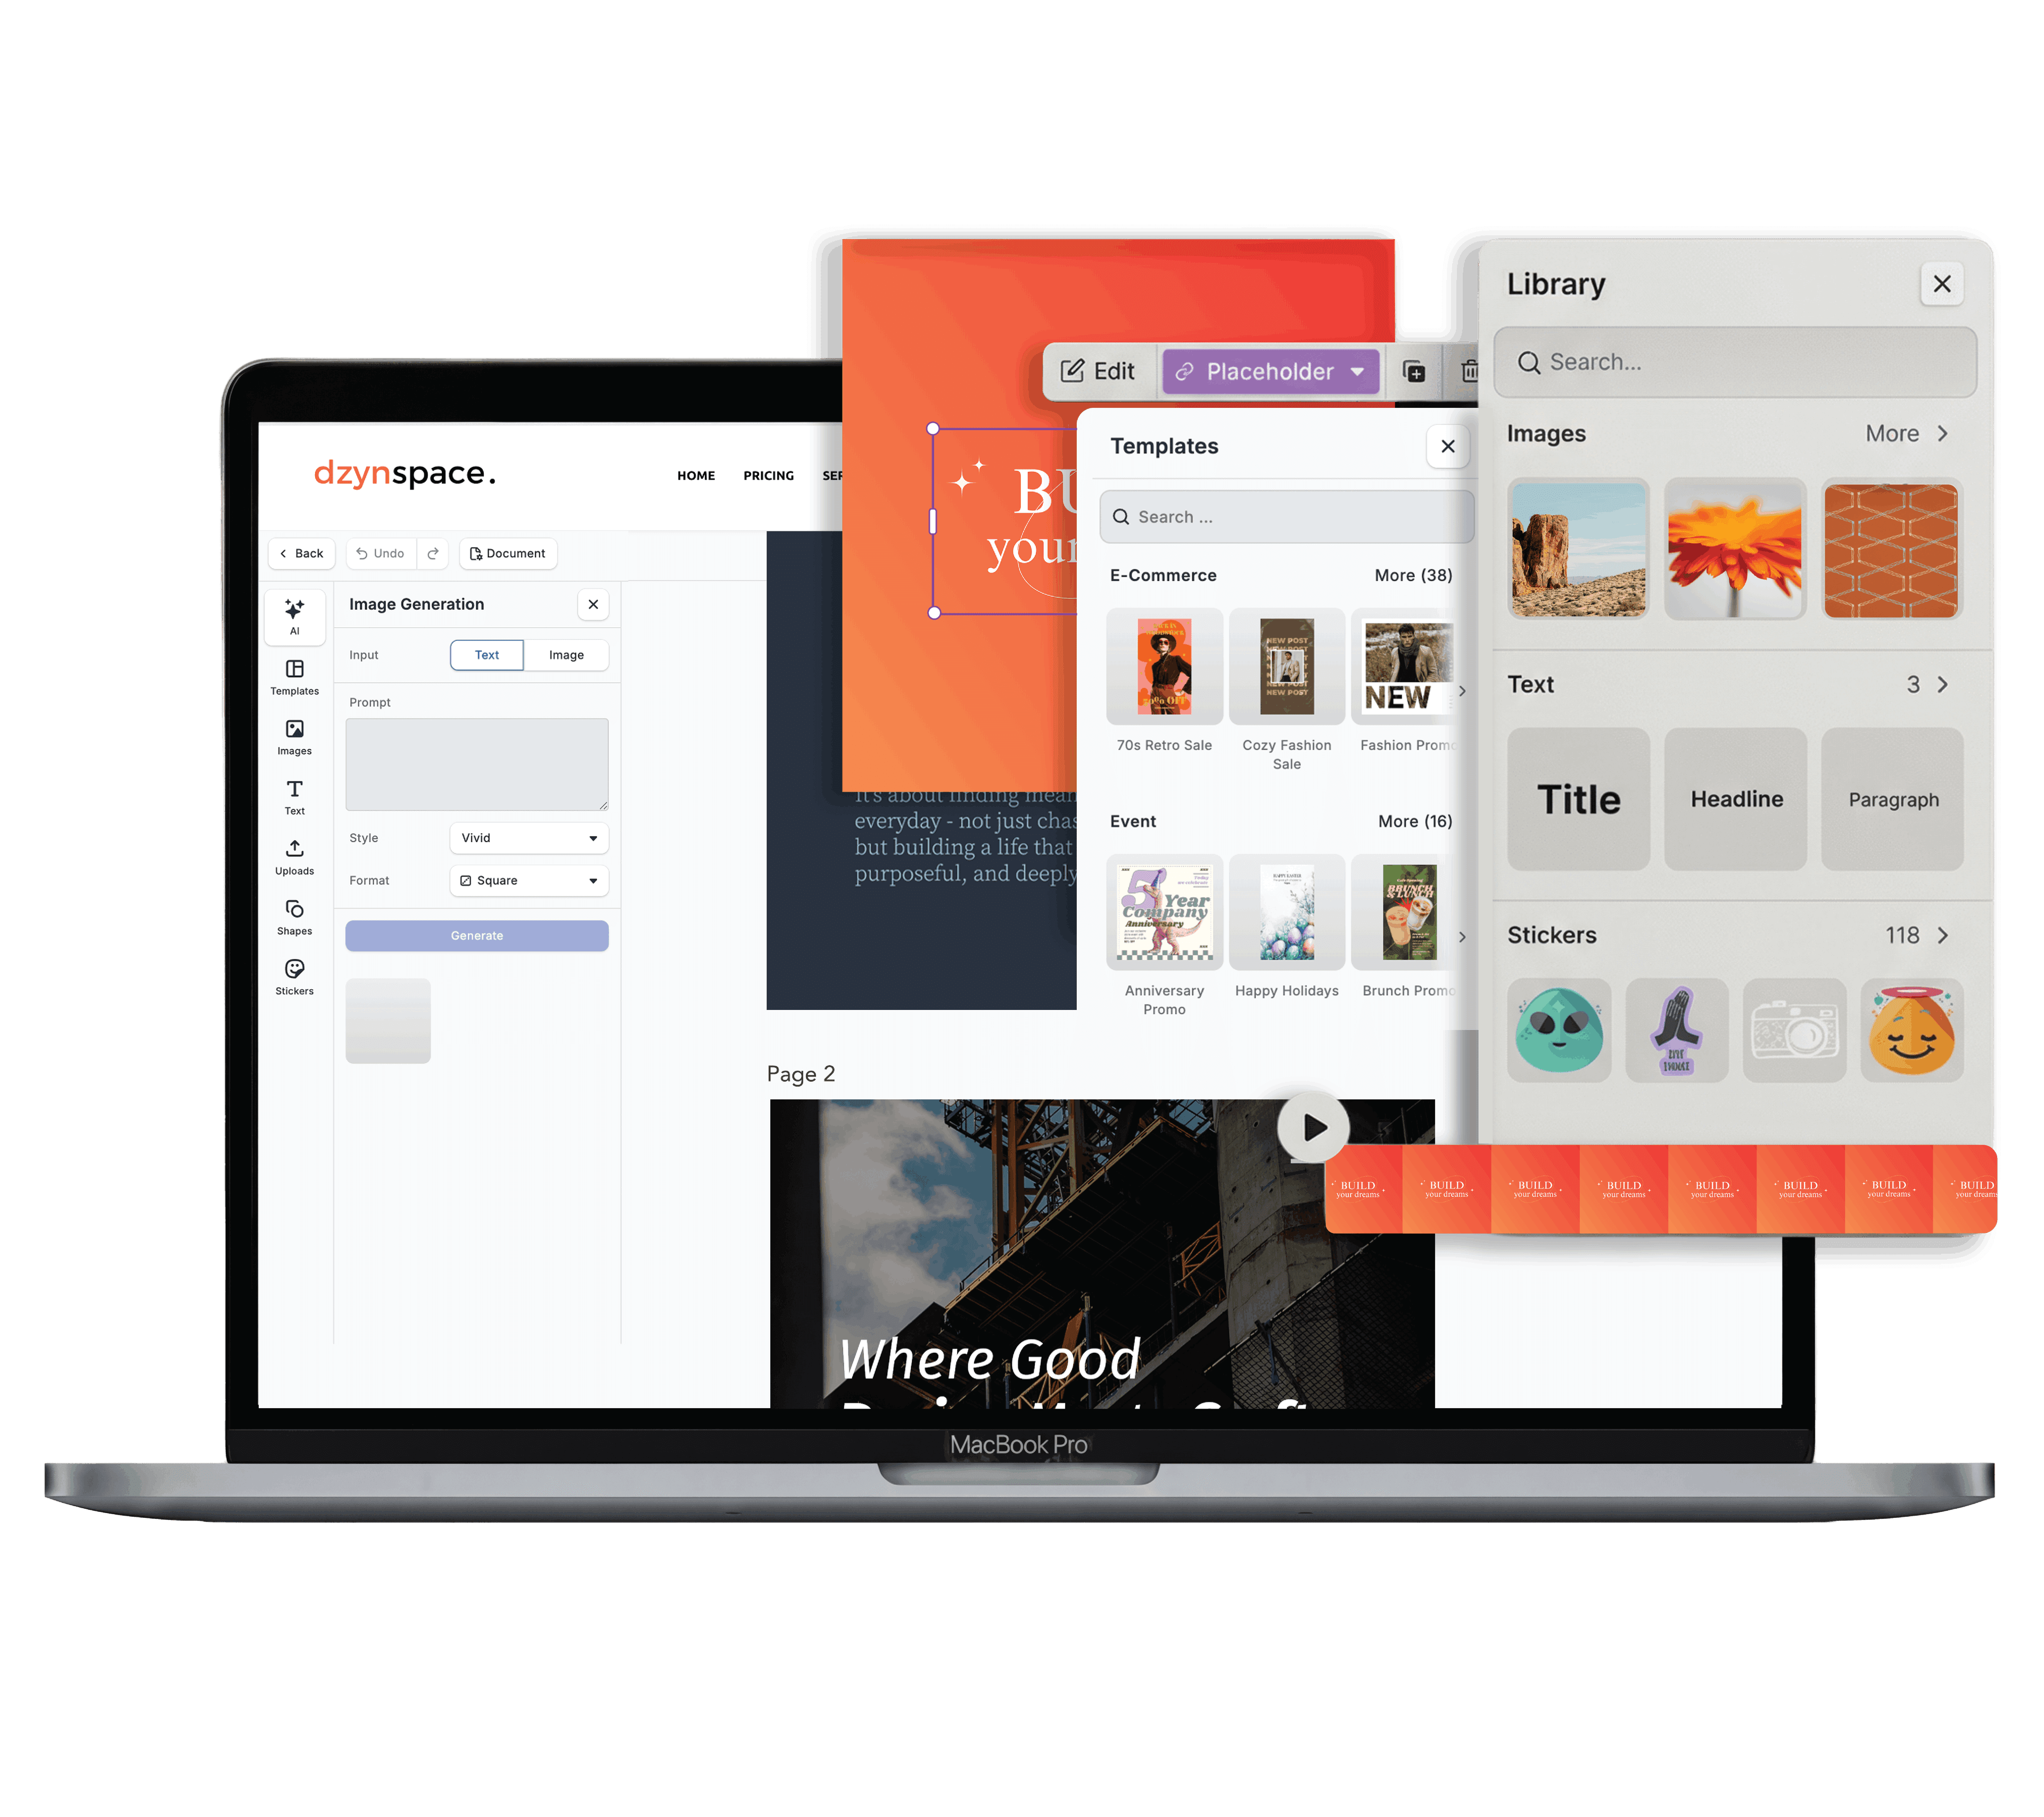
- Built-in Bleed Guides: Turn on print bleed guides in the editor with a single click. You can clearly see where the page trims and where your safety zones sit.
- Pre-Set Print Dimensions: Select standard New Zealand print templates—like A4 flyers, A5 leaflets, or standard business cards—without typing in custom millimetre measurements.
- High-Quality PDF Export: Export your finished designs directly to a print-ready PDF format complete with crop marks and bleeds, ready to email straight to your local printer.
Frequently Asked Questions
What size is a standard New Zealand business card?
The standard business card size in New Zealand and Australia is 90mm x 55mm. When setting up your canvas with a 3mm bleed, your total design area will be 96mm x 61mm.
Why did my dark text come out blurry on the printer?
This usually happens if your text was saved as a low-resolution JPG or if the font wasn't exported cleanly. Always export small body text as vector PDF files to keep the edges sharp.
Should I use rich black or pure black for text?
For small body text, use 100% K (Pure Black) ink. Using "rich black" (a blend of all four CMYK inks) on tiny lettering can cause registration blurs if the paper shifts during printing.
Can I just use my home office printer to check colours?
Home inkjet and laser printers use different inks and paper stock than commercial print shops. While home printing is great for checking text typos and layout spacing, don't rely on it for exact colour matching.
-------
Create your free Dzyn Space account today, pick a local template, and get your premium cards printed directly through Print Monday in minutes.